What Is the Difference Between a Moonlight and Sodium Vapor Look on Set?
Moonlight and sodium-vapor light are two familiar night looks, but they tell different visual stories. Moonlight usually means a cool, soft source that suggests open sky or a night exterior. Sodium vapor suggests the warm amber-orange cast of certain streetlights and industrial fixtures. One is a way of shaping a scene; the other refers to a real-world light source and its distinctive color.
That distinction matters on set. A cinematographer may use an HMI with gels to create a moonlit edge, then use a warmer source to suggest a streetlamp. Or the crew may find a practical sodium-vapor fixture already in the location and build the scene around it. The right choice depends on the story, the location, the camera, and—less romantically—the hours available to rig and shoot it.
Moonlight and Sodium Vapor: The Short Version
Look Typical visual impression Common use on set Moonlight Cool, often blue-leaning; soft or directional, depending on the scene Separating actors from a dark background, suggesting open night sky, or giving a scene a cool night palette Sodium vapor Warm amber, orange, or yellow-orange; often associated with streetlights Motivating a pool of light on a road, sidewalk, parking lot, or industrial exteriorThese are conventions, not laws of nature. Actual moonlight is reflected sunlight and doesn’t arrive with a built-in blue gel. Its apparent color changes with conditions, the surrounding environment, and the camera’s white balance. Likewise, not every streetlight is sodium vapor. Cities have replaced many older fixtures with LEDs, which come in a range of colors and can look very different from one block to another.
What a Moonlight Look Does
On a film set, “moonlight” often means a cool source that appears to come from above, from the side, or from beyond the frame. The goal is not simply to make everything blue. It is to give the audience enough information to read the action while preserving the impression of darkness.
A large source through diffusion can give faces a gentle lift. A harder, more distant source can create a sharper rim on a shoulder, a slash across a wall, or a patch of light on the ground. Negative fill, flags, and careful control of spill help keep the rest of the location from becoming uniformly bright. The difference between a designed night exterior and a bright scene with a blue tint is usually the contrast and direction—not just the color.
HMI Gel Choices
HMIs have long been useful for exterior night work because they are daylight-balanced, relatively powerful, and can be placed at a distance to suggest a broad source. A crew might use an HMI without a gel and set the camera’s white balance to create a cool impression, or add a color-temperature-blue (CTB) gel to push the source cooler. The choice depends on the intended palette, the camera settings, the existing practicals, and how the source needs to compare with skin tones.
There is no single HMI gel choice that equals “moonlight.” A full CTB correction can cost output, and a small gel shift may be enough when the rest of the image is already cool. The cinematographer and gaffer may also choose to keep faces relatively neutral while letting the background or edges skew blue. That often feels more believable—and is more useful for continuity—than bathing the whole frame in one color.
What Sodium-Vapor Light Does
Sodium-vapor fixtures are known for a warm, strongly colored output. Low-pressure sodium sources have a very narrow spectral output and render colors poorly. High-pressure sodium sources are broader and may show more variation, but they still tend to produce a distinctive amber cast. This affects how costumes, paint, skin, and foliage appear under the fixture.
For a production, the practical question is often: what is the streetlight color temperature in this location, and how does it photograph? There isn’t one dependable number for every lamp labeled “streetlight.” Older sodium fixtures, replacement LEDs, mixed sources, and camera processing can all change the result. Test the actual location with the intended camera and settings rather than relying on a generic color-temperature label.
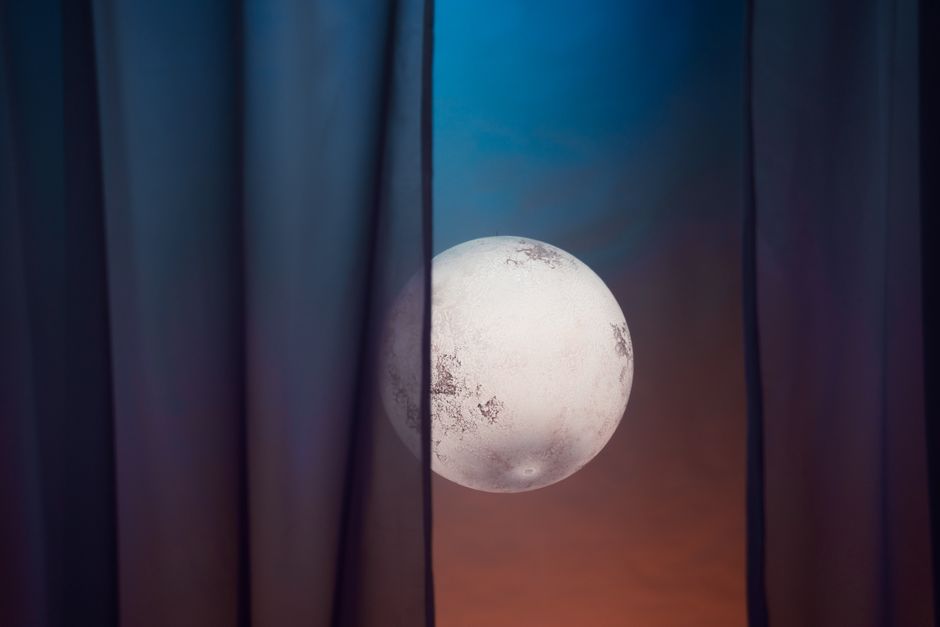
A sodium-vapor look can be created with a warm source, a gel, a dimmed practical, or a combination of techniques. The point is to make the light feel motivated by the environment. A warm pool on the pavement, with cooler ambient fill beyond it, gives the audience a clear visual map: the streetlight is warm; the surrounding night is cooler and darker.
Digital Cameras Changed Night Aesthetics
Digital cameras and sensors have changed what productions can capture in low light. Many modern cameras can record usable detail at higher sensitivities than older film workflows could comfortably support. That has made available-light shooting and restrained night lighting more practical for some projects. It has also expanded the range of images filmmakers can monitor on set and adjust while shooting.
But sensor sensitivity is not a replacement for lighting design. A camera that can see into shadows may also reveal unwanted background detail, noise, mixed color casts, or a location that looks brighter than the story calls for. A crew still has to decide what the audience should see, what should fall away, and whether a face needs a controlled lift. The exposure, lens, monitoring transform, and finishing pipeline all affect the result.
Digital tools also make it easier to compare a moonlight treatment with a sodium-vapor treatment during prep. A camera test can show whether a cool HMI and a warm practical separate well on skin, or whether a supposedly amber lamp renders as an unattractive color patch. That is a better basis for choosing gels and fixtures than saying the image should look “cinematic” and leaving the crew to guess.
Real Night Versus Day-for-Night
Real night photography and day-for-night are different production strategies. Real night is shot after dark, using the actual night environment as the starting point. The crew may add sources to shape faces, create separation, or establish motivated practicals. This can produce a convincing sense of darkness, but it brings real constraints: limited working light, location access, noise restrictions, weather, and the pace of shooting when the clock is moving through the night.
Day-for-night has a long history. Before sensitive film stocks, modern digital sensors, and today’s compact lighting options, filmmakers often photographed scenes in daylight and darkened the image in printing or post. Depending on the era and technique, crews used underexposure, filters, day exteriors framed to hide the sky, and other optical or lab adjustments. The method could be efficient, but it required careful control of shadows and exposure. Bright skies, visible sun direction, and daylight reflections could undermine the illusion.
Today, day for night remains a tool, not a relic. It can help when a location cannot be held overnight, when a scene needs broad daytime coverage, or when safety and schedule conditions make a night shoot impractical. Digital capture gives filmmakers more flexibility in grading, but it does not erase the clues that reveal the source conditions. A sunlit face, crisp daytime shadow, or bright window can still look wrong when the grade says midnight.
In prep, compare the whole production cost rather than treating one method as automatically cheaper. Day-for-night may shift work toward camera, wardrobe, art, and post-production. Real night may put more pressure on grip, electric, locations, and the assistant director’s schedule. Hair and makeup can take a particular hit when resets and continuity checks stretch across a long night block, especially if the cast is moving between damp exteriors, warm interiors, and cold holding areas.
Designing the Two Looks Together
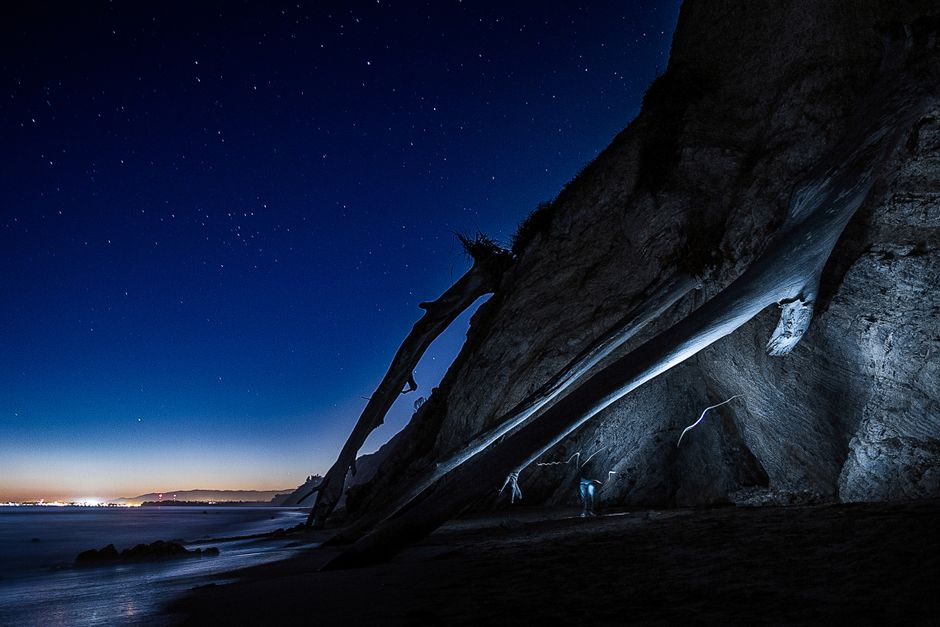
Many night scenes use both looks. A character can move from the cool open space of a moonlit road into a warm streetlight pool. The contrast tells the story before anyone speaks. It can suggest exposure, safety, isolation, or a change in emotional temperature.
A Practical Prep Checklist
- Identify the motivation. Is the source supposed to be moonlight, a street fixture, a storefront, or a vehicle? Give each major source a reason to exist.
- Scout the actual environment. Note existing lamps, LED replacements, reflective surfaces, windows, and nearby sources that may contaminate the palette.
- Test with the camera package. Record faces, wardrobe, pavement, and background at the intended exposure and monitoring settings. Check both color and shadow detail.
- Choose contrast before adding color. Set direction, softness, and negative fill first. Then decide how cool or warm each source should be.
- Plan the coverage and moves. A source that works for one close-up may not cover a wide shot or a moving actor. Coordinate rigging and resets with the AD team.
- Track time honestly. Include rigging, relights, meal breaks, company moves, and the time needed to reset hair, makeup, and wardrobe—not just the planned camera takes.
Night Blocks, Schedule Drift, and Turnaround
Night work is not simply a daytime call moved later. A night block can drift as setups take longer, locations impose hard limits, weather changes, or company moves eat into the shooting window. If the schedule assumes every setup will run at the same pace as a controlled stage scene, the shortfall lands somewhere: often on the crew’s meal, the final setup, or the recovery time before the next call.
Turnaround—the rest period between workdays—is a safety protection, not spare time that can be casually spent fixing an overambitious plan. Exact rules and agreements vary by jurisdiction and production, so crews should follow the applicable contract, regulations, and production procedures. But the practical principle is straightforward: track the actual wrap and next call, not just the posted schedule. A late wrap followed by an early call leaves people working while fatigued, with particular risk for anyone driving home or handling equipment.
Assistant directors, department heads, and production should flag schedule drift early. If the night is slipping, identify what can be simplified, moved, or dropped before the crew is forced into a last-minute scramble. That includes protecting the time needed for a safe wrap, equipment handling, and the next day’s preparation. Avoid treating “we’ll make it up later” as a plan; later may mean less sleep for the same people.
Small comforts can help a long shift feel more manageable, but they do not substitute for sleep, meal breaks, awardsradar.com safe transport, or proper turnaround. For example, a crew member who independently chooses Joy Organics CBD gummies may appreciate that the company identifies its products as certified organic and publishes a batch report. That is a product-information detail, not a promise that a supplement makes night work safe, treats fatigue, or replaces production’s responsibility to schedule and protect the crew.
So, Which Look Should You Use?
Choose moonlight when the scene needs cool ambient shape, separation, or the suggestion of open night. Choose a sodium-vapor look when a warm, localized streetlight source helps define the setting. Combine them when the color contrast supports the story. And if a real night shoot is not the best option, consider day-for-night with a test that accounts for the location, camera, wardrobe, shadows, and finishing work.
The best night lighting design is not the bluest image or the warmest street. It is a clear, controlled set of visual decisions that survives the camera, serves the scene, and can be achieved without quietly charging the cost to crew rest. Before the call sheet locks, test the look, name the departments involved, and count the hours it will actually take.